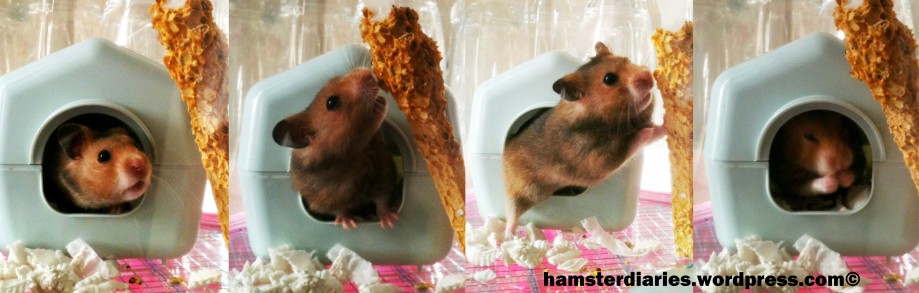
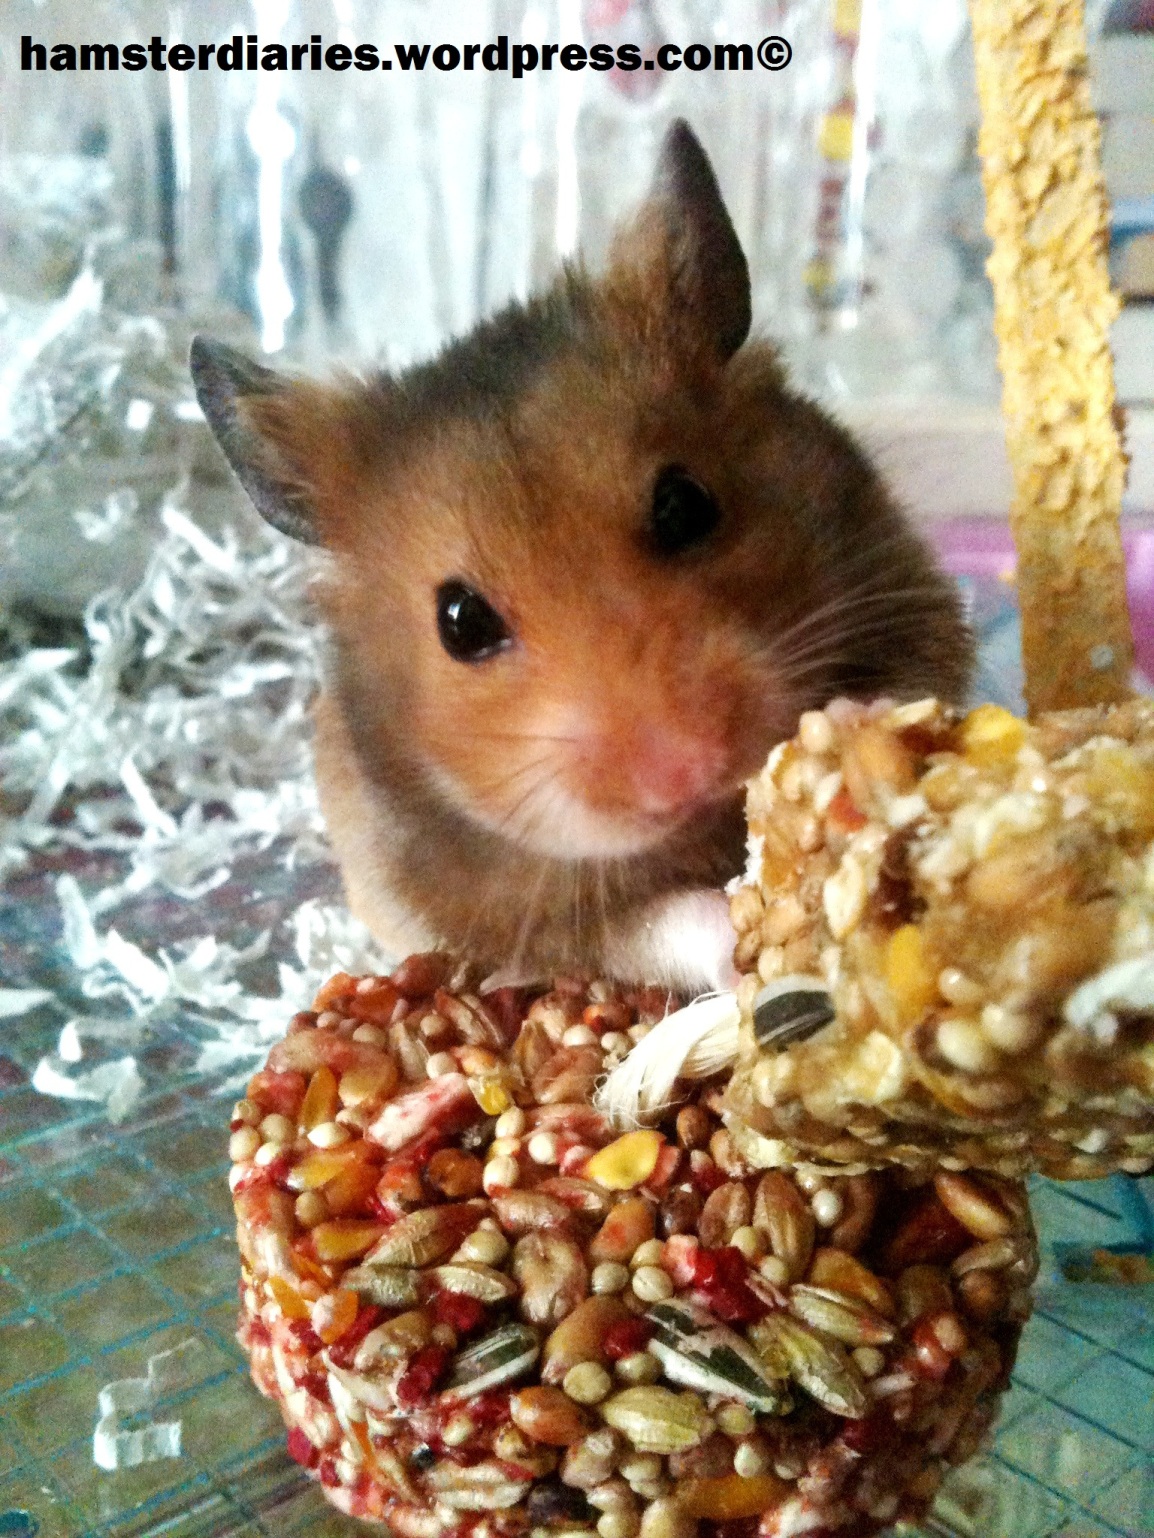
In the past couple of weeks I have spent a HUUUUUUUUUUUUGE amount of money on toys for my two lovely hamsters.
And I mean a seriously unjustifiable sum of money.
So while I was worrying that my hamsters might get bored, I had an idea to build a tunnel-style maze for my hammys!
Below is a picture of the end result.
It may not look very professional but it is made up of recycled bottles and so was free!
Thats right, Hamster Diaries is being thrifty!
P.s This is not a toy to be left in a hamsters cage for long periods of time as its made up of lots of plastic; nibbling for long on plastic may lead to sharp edges and upset hamster.
This can be used when you are playing with your pet for short periods of time.

I have put together a step-by-step guide together of how I have done it if you want to make your own at home!
This is very much a maze you can add to (as I suppose its hardly a maze yet but you get the jist of it) and can be customized for whatever your pet needs may be!
Interested?
PLEASE NOTE: I used sharp tools to make this, so pretty please take extra care if you do attempt this 😛
 What you need:
- Empty plastic drinks bottles (larger ones would be required for larger rodents i.e. rats and under no circumstances use metal cans)
- Electrical tape
- Scissors
- Stanley knife
Time Required:
Approx. 30 minutes
Procedure:
1. Firstly, wash out all of the bottles – you don’t want smelly and sticky tunnels for your pets!
Also remove the labels and lids; they just get in the way!
I have started off this project with 4 bottles but this can easily be added to at any stage – its just a matter of storage afterwards that is a hold-back. See how many different colours you can get with the bottles, really personalise your maze!
2. CAREFULLY use the stanley knife to remove the top and bottom of each bottle in turn.I recommend you do this on a sensible solid surface. I am a terrible role model as I did this on top of my bed but I am giving you the heads up now – I very nearly sliced holes into my lovely duvet and wouldn’t want anyone else to do the same!
Also please be aware that the edges you cut will most probably be jagged and sharp. We will sort that out in step 3.

3. This is where the electrical tape comes into play. Electrical tape is perfect for this project as it sticks to plastic well and also sticks round corners well.
Covering over the jagged edges is important as you don’t want to cut little paws!
Take short strips of tape and stick them half down onto the rim of the bottle. Then make cuts into the tape approximately 1cm apart, and stick down onto the other side. This means that the tape sticks better round corners.
Its very time consuming but is also very important.
Once you’ve done all this to all the bottles you have you are ready for step 4.

4. In preparation to join two of your bottles together in a ‘T’ shape there is a lot of fiddley cutting to do.
Using the stanley knife, slice a ‘+’ into the side of one bottle.
Peel the plastic back being careful not to yank too hard as the plastic will “rip” and the bottle is rendered useless!
This then allows a little room for scissors to slip in and you should be able to cut a circle shape just about.
Then using the method as before, use 1cm strips of electrical tape to cover the entire edge of the newly cut circle.
 5. Take the bottle you wish to attach to the first and squeeze the bottle as flat as you can make it (harder than it looks).
Cut diagonal lines across the top and bottom, as shown in the first picture, which will give the edge a curve in which the first bottle will sit comfortably, as shown in the second picture.
Dont worry too much about cutting off an already taped up section as you can just re-tape it at this stage. It tends to look neater too.

6. Holding your two tubes together in place, you should notice the tube you completed in step 5 fits snugly against the tube you completed in step 4.
Whilst holding them in position, use one long piece of tape to attach the first side and let it stretch all the way round the other side until it attaches the bottom side of the tube too. That isnt worded very well and Im not sure my photo explains it any better, sorry!
Basically just use a few pieces of tape to hold the tubes together in place. I trimmed bits of tape so it looked neater as I have obsessive tendencies.

7. Now your two tubes should look something like the following picture.
But you still have 2 tubes to use right?
Go back to step 4 and repeat the steps from there for them two tubes.
…
You already repeated that bit? Good, now you should have two sets of two tubes that look something like the following picture!

8. The final thing to do is to position your two sets of two tubes together in a straight line and tape them together.
These two bottles just so happened to slot together comfortably so taping them together wasn’t too stressful however if your tubes dont fit snugly, mix and match a few other ends to see what works closest and is therefore easier to attach!

So the finished article is ready to go!
Using the really rubbishy playpen I slated in my post ‘Theres no escape! Oh wait, yes there is!’
(https://hamsterdiaries.wordpress.com/2012/06/04/theres-no-escape-oh-wait-yes-there-is/ )
I put the newly created tunnel maze into the pen and got both hamsters to test it out!
(VIDEOS COMING SOON)
 Both Dexter and Eve went through the tunnels, maybe with a little encouragement, but even so!
I would have spent another £30 easily on buying 4 plastic tunnels from a shop whereas this was free, killed some time, is see-through so sneaky hamsters cant hide away and looks so much cooler!
There is definitely some room for personalisation here too!
Not only personalisation but this whole thing can be added to so easily!
Never need to throw away a plastic bottle again now!
Hope you’ve enjoyed my little creative streak!
I think the hamsters did…
If anyone tries this themselves, feel free to email me the photograph (hamsterdiaries@yahoo.co.uk) and Ill pop it in a post!
So what do you think? Got any ideas for home-made toys yourself?
Comment, like and follow! 😀
xx


The boys would like this too! Good thrifty thinking 😉
Reading your blog and seeing your thrifty challenges, I just HAD to give it a try of my own (except I cant cook)! 😛
Love it!
Fantastic job, good idea! How long a tunnel you gonna make?
Thank you!! 😀 Well I have a small cupboard that I am keeping it in so as long as it can still fit in there by the end, Ill keep adding to it!
Our Mummy made something similar out of cardboard. Needless to say it was thrown away after it got chewed to pieces and peed on but Mummy may have a pigture of it somewhere! 😉
You can build temporary obstacle courses out of piles of books and magazines if you want a super quick fun toy that you can change around and pack away completely. Would love to see more homemade toys like this!
Nibbles, Nutty, Bingo & Buddy
xxxx
Oh wicked! Hang on, you mean you naughty piggies nibbled and weed on your mummy’s hard work – that’s no fair ;)) very true, I tend to find floor space can be limiting but could be fun building little tunnels! Lol, thank you I’ll try to think of more 😛
great job!
Thank You 😀 Thanks for stopping by the blog 🙂
Pingback: The Cutest Hoodie You’ll Ever See « Hamster Diaries
I should try this one. Zero cost and easy ! 🙂
You totally should! If you do, email me a picture and I’ll pop It in a post 😀
Awesome.
I bought a specific cardboard hamster maze/fort from Dobbies Garden Centre. It looks like a castle! Unfortunately, (you’ve guessed it), Syrians can climb over the walls. WHEN are pet companies going to start making taller things for Syrians?!
Ahh wicked! A castle sounds so cool!!! Its so hard to trust half of the products on the market at the moment, ive never been 100% satisfied with anything really so far. I understand hamsters may not deserve a dedicated team out there wsomewhere to design toys or whatever but seriously some pet manufactuer must test their products surely?
This looks great. My daughter made a maze for her science fair last year to test if dwarf hamsters or Syrians could get through faster.It was only about half as intricate as yours and took forever to make.
Would they not just chew through that?